
| 일 | 월 | 화 | 수 | 목 | 금 | 토 |
|---|---|---|---|---|---|---|
| 1 | 2 | 3 | ||||
| 4 | 5 | 6 | 7 | 8 | 9 | 10 |
| 11 | 12 | 13 | 14 | 15 | 16 | 17 |
| 18 | 19 | 20 | 21 | 22 | 23 | 24 |
| 25 | 26 | 27 | 28 | 29 | 30 | 31 |
- 선형 조사법
- 부모 노드
- 이차 조사법
- Gargbae Collector
- 조상 노드
- java
- 직접 주소 개방
- Double Hasing
- 노드 레벨
- binary queue
- Quadratic Probing
- 큐
- singly linked list
- Open-Addressing
- Linear Probing
- 이진 큐
- Double형 배열
- 객체 배열
- 자식 노드
- 해시 테이블
- 향상된 for문
- 트리 높이
- 배열
- ListIterator
- 자바
- 단말노드
- Queue
- array
- 자료구조
- 루트노드
- Today
- Total
영운's 블로그
AWS 서버 구축하기(6) - 서브도메인 및 리다이렉션(ip to domain & http to https ) 적용 본문
AWS 서버 구축하기(6) - 서브도메인 및 리다이렉션(ip to domain & http to https ) 적용
오영운(you88) 2022. 4. 22. 22:28
1. 서브도메인 설정
1) 서브도메인이란
서브도메인이란 주 도메인의 하위 도메인을 만드는 것이다.
우리가 폴더안에 추가로 폴더를 형성하여 계층화하여 저장하는 것과 동일하다.
네이버의 도메인이름은 naver.com이지만
검색창은 search.naver.com
메일은 mail.naver.com이다
이렇듯 기능, 용도에 따라 서브도메인을 만들 수 있다.
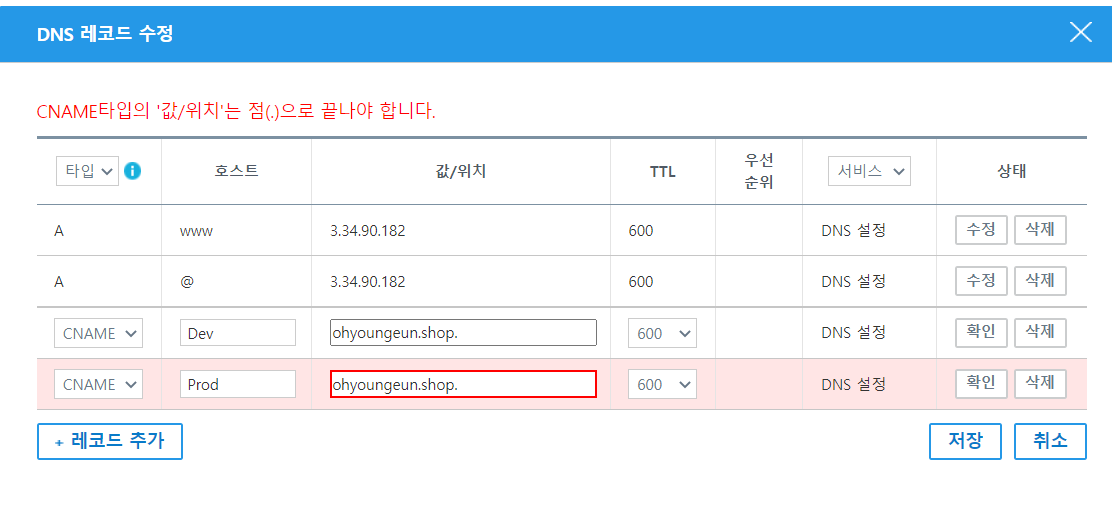
2) 서브 도메인 설정
가비아를 통해 도메인을 구입했기에 가비아를 통해 서브 도메인을 추가한다.
가비아를 이용하는 경우 앞서 도메인이름과 ip주소를 연동시켰던 곳과 동일한 곳에서 설정한다.
단, 서브도메인을 설정하는 경우
타입은 CNAME
호스트는 서브도메인으로 설정할 이름
값/위치는 기존 도메인이름을 설정한다.
나는 Dev, Prod 두 개의 서브도메인을 추가하였다.
3) Nginx 설정 파일 수정
root@ip-172-31-37-33:/home/ubuntu# cd /var/www/html
root@ip-172-31-37-33:/var/www/html# mkdir dev
root@ip-172-31-37-33:/var/www/html# mkdir prod

root@ip-172-31-37-33:/var/www/html/dev# vim /var/www/html/dev/dev.html
This is dev page


root@ip-172-31-37-33:/var/www/html/prod# vim /var/www/html/prod/prod.html
This is prod page
Nginx 기본 디렉토리인 /var/www/html로 이동하여
새로 만든 두 개의 서브도메인을 위한 dev, prod 디렉토리를 생성한다.
이후 각 디렉토리에 간단한 html을 vim으로 작성하여 저장한다.
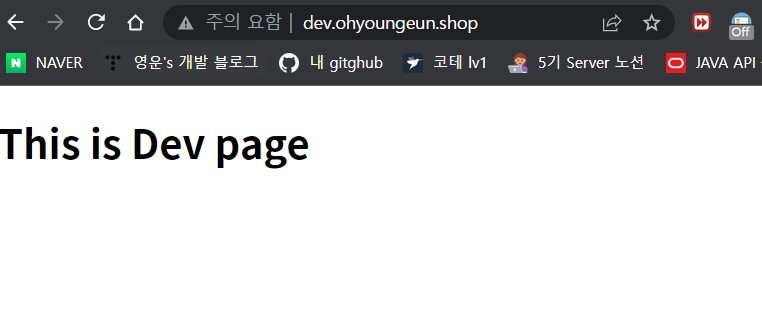
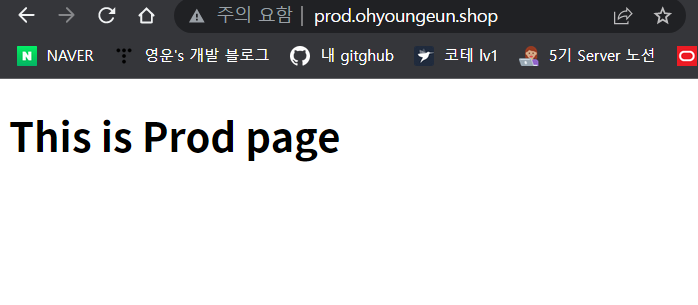
위에 제시된 것처럼 html파일을 만들면 각각
This is Dev page
This is Prod page
를 페이지에 띄울 것이다.
root@ip-172-31-37-33:/var/www/html/dev# vim /etc/nginx/sites-available/default

server {

        root /var/www/html/dev;

        # Add index.php to the list if you are using PHP
        index dev.html;

        server_name dev.ohyoungeun.shop;

        location / {
                # First attempt to serve request as file, then
                # as directory, then fall back to displaying a 404.
                try_files $uri $uri/ =404;
        }

        location ~ \.php$ {
                include snippets/fastcgi-php.conf;

                fastcgi_pass unix:/var/run/php/php7.4-fpm.sock;
        }
}
server {

        root /var/www/html/prod;

        # Add index.php to the list if you are using PHP
        index prod.html;

        server_name prod.ohyoungeun.shop;

        location / {
                # First attempt to serve request as file, then
                # as directory, then fall back to displaying a 404.
                try_files $uri $uri/ =404;
        }

        location ~ \.php$ {
                include snippets/fastcgi-php.conf;

                fastcgi_pass unix:/var/run/php/php7.4-fpm.sock;
        }
}
이후 vim Nginx 설정파일로 들어가 서브 도메인에 대한 추가적인 설정을 추가한다.
보면 해당 주소가 root로 설정할 디렉토리, 처음 시작시 실행할 파일, 서브도메인이름 등이 있다.
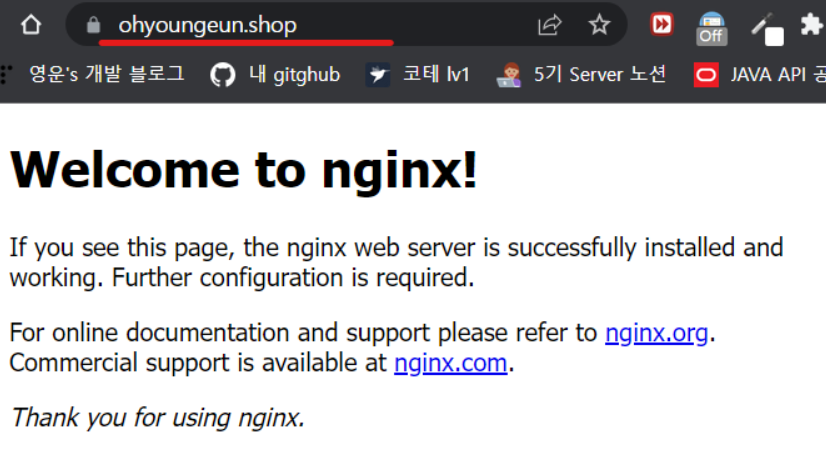
이를 저장하면 아래와 같이 서브도메인으로 접속이 가능함을 확인할 수 있다.
2. IP to Domain 리다이렉션 적용
IP to Domain 리다이렉션이란 주소창에 ip주소를 입력했음에도 도메인이름으로 바뀌며 접속이
되는 것을 의미한다.
root@ip-172-31-37-33:/home/ubuntu# vim /etc/nginx/sites-available/default


server {
        listen 80;

        server_name 3.34.90.182;

        return 301 $scheme://www.ohyoungeun.shop$request_uri;
}
설정 자체는 간단하다.
다시 nginx 설정파일에 들어가 다음과 같이 서버이름을 ip주소로 하고 도메인 이름을 return하도록 한다.
root@ip-172-31-37-33:/home/ubuntu# service nginx restart설정을 완료 후 nginx를 재시작한다.
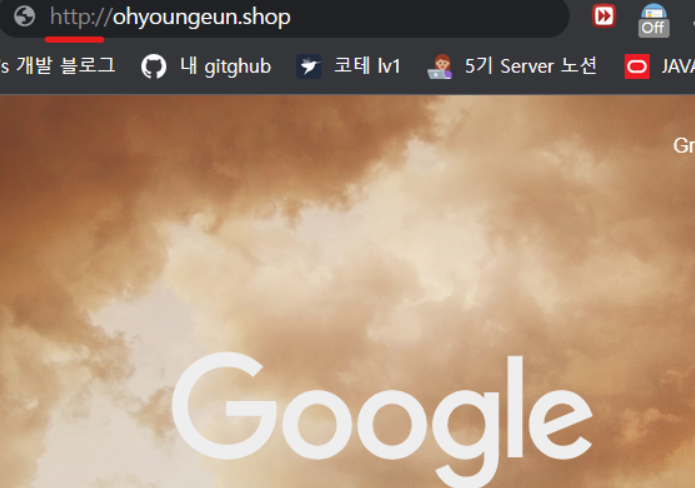
이제 ip주소를 입력하면
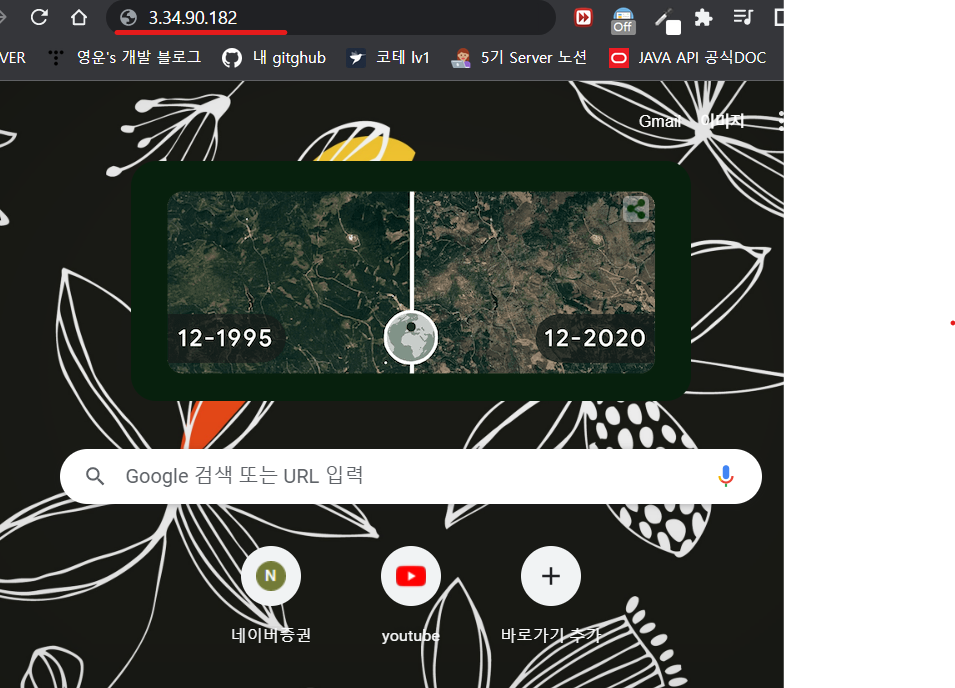
다음과 같이 도메인이름으로 바뀌고 접속되는 것을 확인할 수 있다.
3. http to https 리다이렉션 적용
http로 접속하려고 해도 https로 자동으로 접속하게 리다이렉션을 적용한다.
root@ip-172-31-37-33:/home/ubuntu# vim /etc/nginx/sites-available/default

server {
        listen  80;
        server_name _;

        return 301 https://$host$request_uri;
}
nginx 설정파일에 위와 같은 소스를 추가한다.
listen 80 : 80번포트(http접속)로 오는 경우
server_name _; : 모든 입력한 주소에 대해
return 301 : 리다이렉션을 적용(다음 접속시에도 영구적으로)
https://$host$request_uri : https로 접속해라
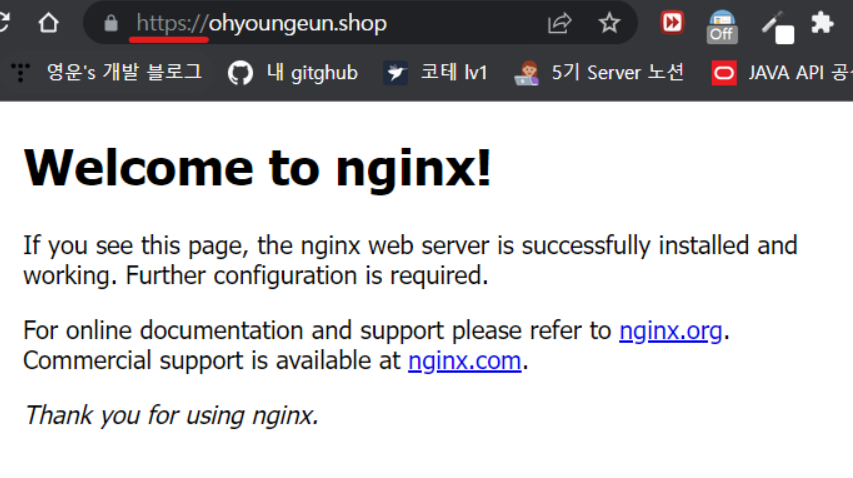
이렇게 설정시 다음과 같이 http로 주소를 입력해도 https로 리다이렉션이 적용된다.
참고: https://phoenixnap.com/kb/redirect-http-to-https-nginx
How to Redirect HTTP to HTTPS in Nginx | PhoenixNAP KB
In this tutorial learn how to Redirect HTTP to HTTPS in Nginx. Get started Redirecting all HTTP traffic, specific sites, and domains now!
phoenixnap.com
'서버 & 데이터베이스' 카테고리의 다른 글
| AWS RDS 구축하기(+ 타임존, utf-8인코딩 설정) (0) | 2022.04.27 |
|---|---|
| 외부접속 가능한 로컬서버 구축 - bitnami 및 포트포워딩 (0) | 2022.04.23 |
| AWS 서버 구축하기(5) - HTTPS 적용하기(Let's encrypt) (0) | 2022.04.22 |
| AWS 서버 구축하기(4) - Domain 구매 후 적용하기 (0) | 2022.04.22 |
| AWS 서버 구축하기(3) - phpmyadmin 설치 (1) | 2022.04.21 |


